You know those moments when you stumble upon something creative and think, “Why didn’t I try this sooner?”
That was me when I first got into making clay earrings.
It started on a lazy afternoon, after scrolling through Pinterest one too many times, when I thought, “Why not create something that’s as unique as I am?”
Fast forward a few hours, and I was hooked!
Now, I’m here to share everything I’ve learned along the way on how to make clay earrings—whether you’re a seasoned crafter or just dipping your toes into the world of DIY jewelry.
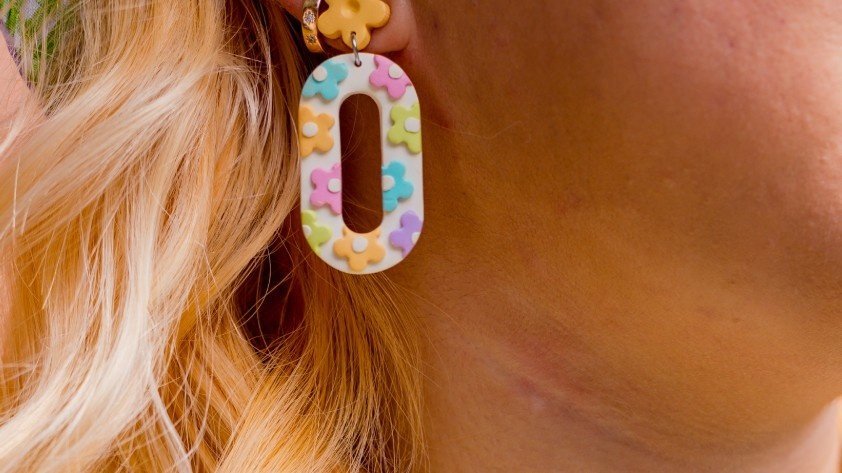
Why Choose Clay Earrings?
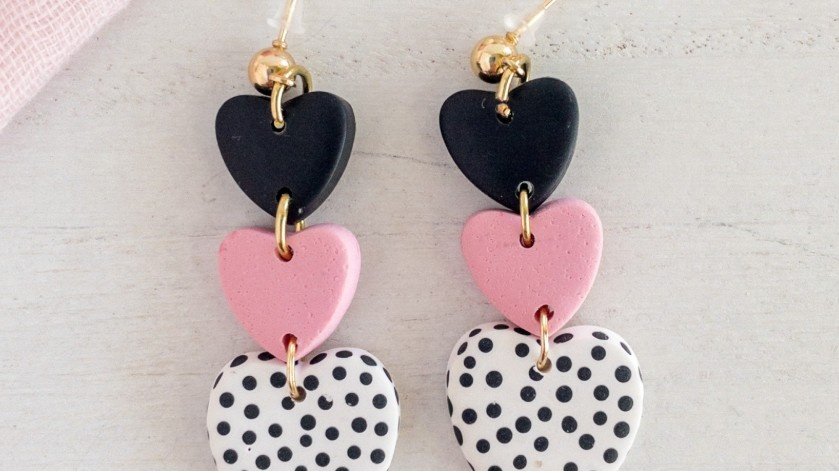
Before we roll up our sleeves and dive into the how-to, let’s talk about why polymer clay earrings are such a game-changer.
They’re easy to make, totally customizable, and—let’s face it—way cheaper than designer jewelry.
Plus, you can create earrings that no one else will have. From boho vibes to minimalistic chic, the possibilities are endless.
And here’s the best part: whether you’re looking to make a statement with bold, oversized pieces or you want to keep things sleek and delicate, polymer clay is your best friend.
It’s versatile, forgiving, and the creative freedom it offers is unmatched.
So, let’s get into it!
What Do You Need to Make Clay Earrings?
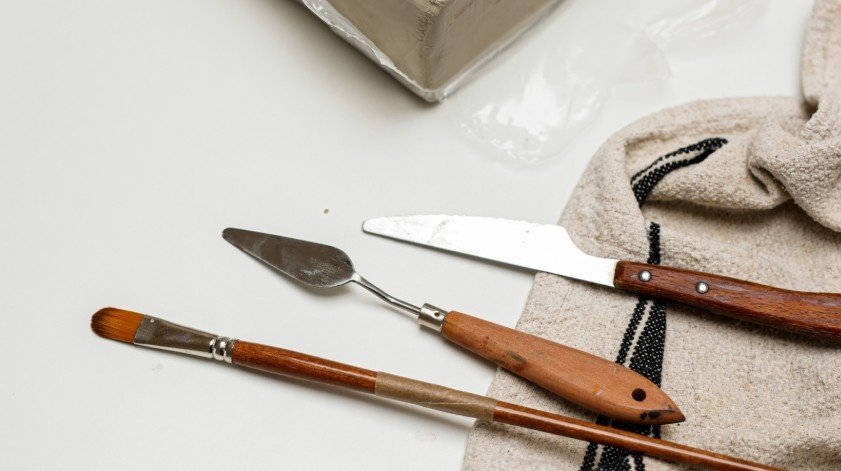
Okay, first things first, you’ve got to gather your supplies. Don’t worry, you don’t need anything too fancy, but a few essential tools will make your crafting experience a whole lot smoother. Here’s your starter kit:
- Polymer Clay: You’ll want high-quality clay like Sculpey Premo or Soufflé. These are known for being pliable and durable. Avoid the cheaper brands, as they can be brittle.
- Earring Backs: Choose posts, hooks, or hoops depending on the style you’re going for.
- Jump Rings: These tiny metal rings will help connect your clay pieces to your earring backs.
- Superglue: Go for flexible superglue like Loctite Gel or Gorilla Glue Gel.
- Cutting Tools: You’ll need an X-Acto knife or mini cookie cutters to cut your shapes.
- Rolling Pin: Use an acrylic rolling pin or a pasta machine to flatten the clay evenly.
- Jewelry Pliers: For opening jump rings and assembling your earrings.
- Baking Sheet & Parchment Paper: To bake your creations.
How to Make Clay Earrings: A Step-by-Step Guide
Now that you’ve got your supplies, it’s time to get crafting! This process is as fun as it is creative, so let’s break it down into manageable steps.
1. Condition Your Clay
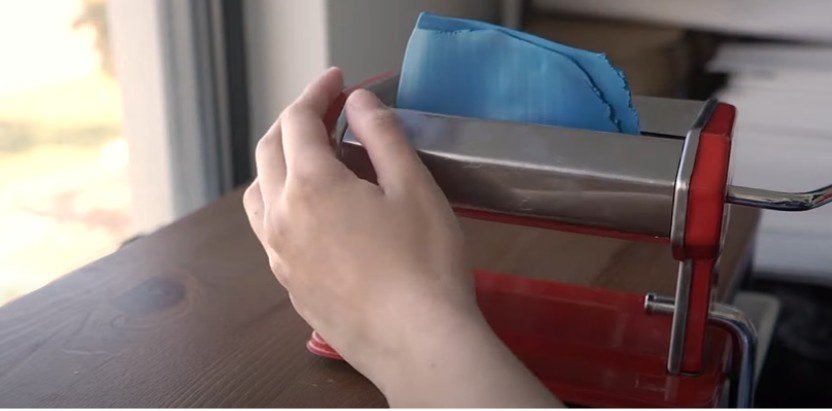
Image source- The Atelierista Of Love
Start by kneading your polymer clay. You want to soften it and make it pliable, which can be done by hand or using a pasta machine (if you’ve got one).
The key is to remove any air bubbles and cracks. I always find it super satisfying to watch the clay transform from stiff and crumbly to smooth and soft.
2. Roll Out the Clay
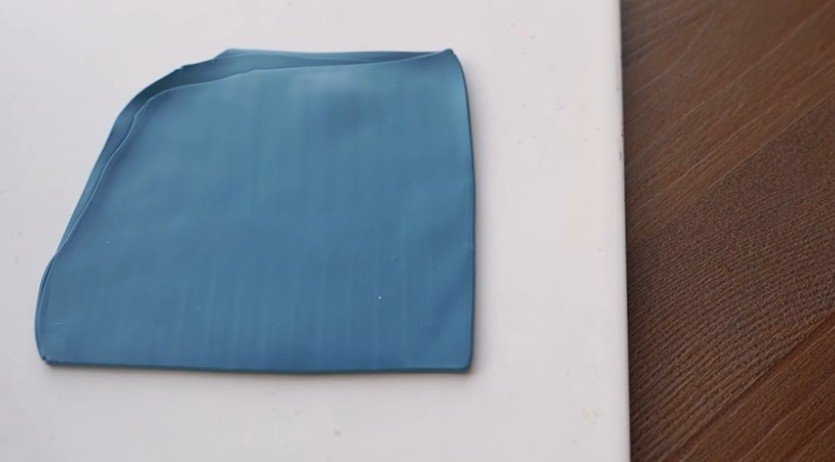
Image source- The Atelierista Of Love
Once your clay is conditioned, roll it out to your desired thickness. Usually, 1/8 inch is perfect for most earrings.
You can use an acrylic rolling pin, or if you’re feeling fancy, a pasta machine. The key here is to keep it even and smooth, so take your time.
3. Cut Out Shapes
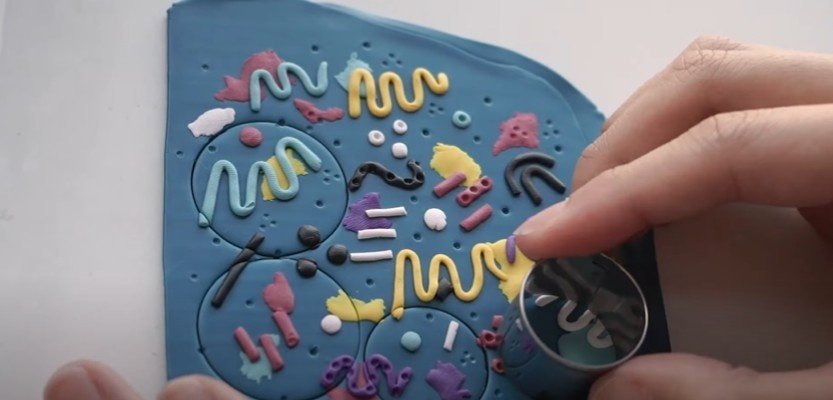
Image source- The Atelierista Of Love
Now, for the fun part—cutting your shapes!
Whether you’re using clay cutters, mini cookie cutters, or even freehanding it with a craft knife, this is where your creativity shines.
You can go for circles, squares, or even abstract shapes.
If you want to add a little extra flair, create a marble or terrazzo effect by mixing different colored clays.
4. Make Holes for Jump Rings
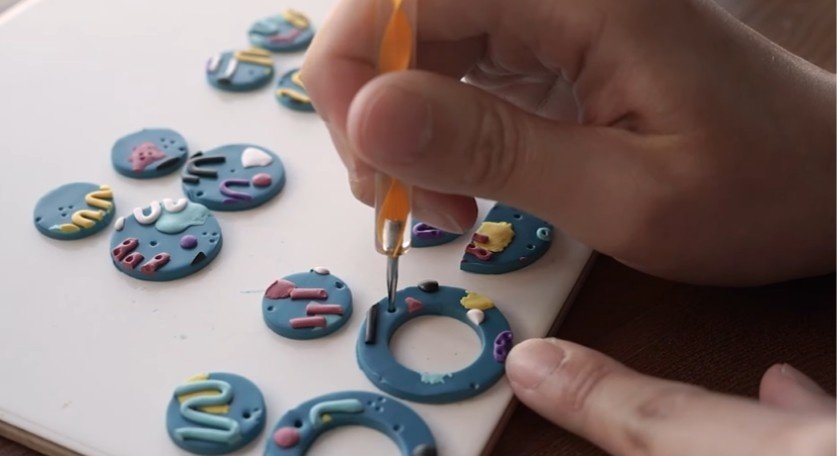
Image source- The Atelierista Of Love
Before baking, you’ll need to make small holes in your clay shapes where the jump rings will go. I usually use a toothpick or large needle for this.
Make sure the holes are close to the edge but still large enough to fit the jump rings. Don’t worry if they’re not perfect—your earrings will look awesome no matter what.
5. Bake Your Clay Earrings
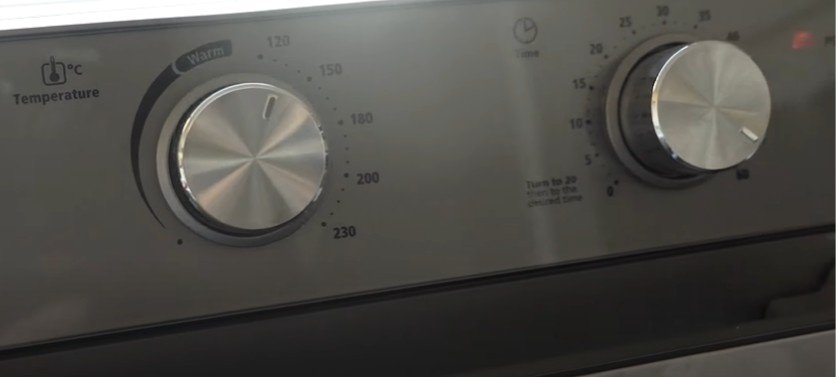
Image source- The Atelierista Of Love
Preheat your oven to 275°F (or 130°C), but make sure to check your clay’s packaging for any specific instructions.
Line a baking sheet with parchment paper and place your clay pieces on it. Cover them with a piece of aluminum foil to keep them from browning.
Bake your clay for about 30 minutes per 1/4 inch of thickness.
For example, if your pieces are a bit thicker, you may need to bake them a bit longer. Once baked, allow them to cool completely before handling.
6. Sand and Smooth (Optional)
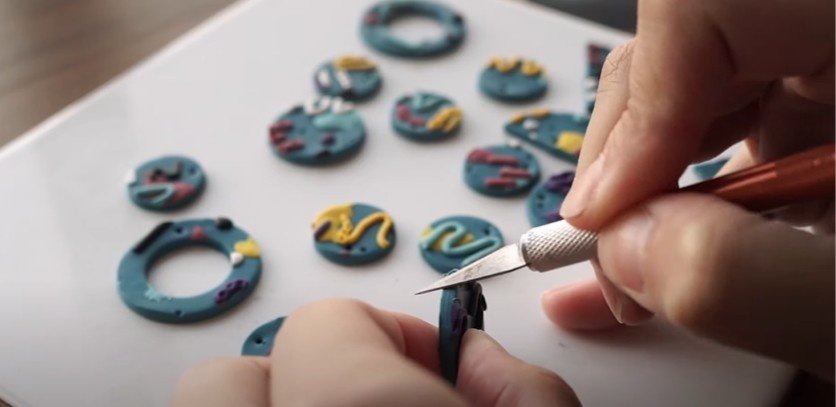
Image source- The Atelierista Of Love
After baking, if your clay has any rough edges, you can smooth them out with fine-grit sandpaper or even a Dremel tool.
It’s not a must, but it does give your earrings that professional, polished finish.
7. Assemble Your Earrings
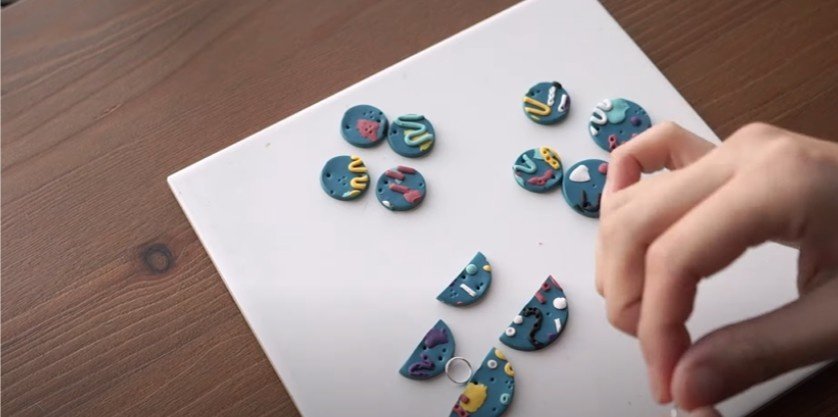
Image source- The Atelierista Of Love
Here comes the magic—putting everything together! If you’re making stud earrings, glue the earring post to the back of your clay piece.
For dangling earrings, use jump rings to attach your clay pieces to earring hooks or hoops.
Use jewelry pliers to open and close the jump rings, and voilà, your earrings are ready to wear.
8. Finishing Touches (Optional)
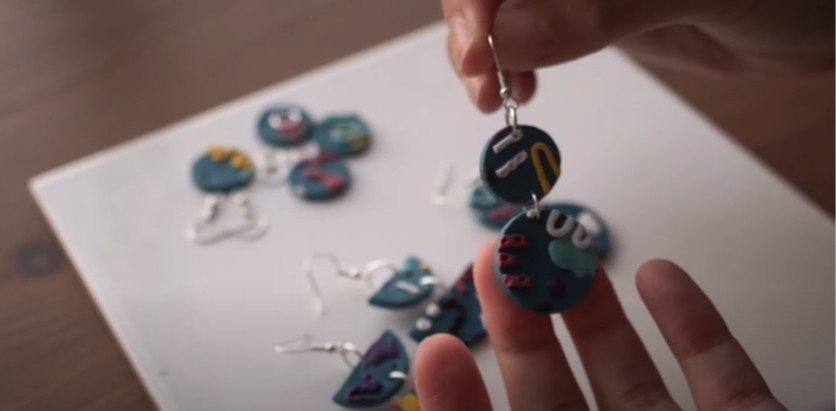
Image source- The Atelierista Of Love
For that extra bit of shine and protection, you can apply a clear varnish or resin. If you’re going for that glossy, polished look, buff your earrings with a Dremel tool or soft cloth.
FAQs: Clay Earring Making Essentials
1. Can I make clay earrings without an oven?
Unfortunately, polymer clay requires baking to harden and set properly. You can’t skip the oven part, but don’t worry—it’s quick and easy. Just make sure to use an oven thermometer to avoid overheating.
2. How do I make my clay earrings more durable?
The key to durability is conditioning your clay well before baking and ensuring you follow the right baking instructions. If you want to make your earrings extra sturdy, you can also embed earring posts into the raw clay before baking.
3. Can I use acrylic paint on clay earrings?
Absolutely! Once your earrings are baked and cooled, you can paint them for added design elements. Just make sure to use acrylic paint for best results and seal them with a clear varnish.
4. What’s the best clay for earrings?
Sculpey Premo and Soufflé are some of the best options for earrings because they are soft, easy to work with, and durable once baked. Avoid cheaper brands, as they may become brittle over time.
Your Earring-Making Adventure Starts Now!
Making your own clay earrings is more than just a crafty activity—it’s a chance to express yourself and wear your creativity every day.
Whether you’re into minimalist designs or bold, chunky statement pieces, polymer clay offers endless possibilities.
So, go ahead—start your earring-making adventure today, and soon, you’ll be the one turning heads with your one-of-a-kind creations.
Tip: Don’t be afraid to mix and match colors, textures, and shapes. The beauty of clay earrings is that they’re totally unique to you.
Happy crafting!