I remember the first time I watched someone wrap a brisket in butcher paper. It was a moment of pure fascination.
The way the butcher paper hugged the meat, sealing in all those smoky flavors, while keeping the bark perfectly intact… I was hooked.
It wasn’t just a technique; it was an art. Fast forward to today, and I’m here to share that same magic with you—how to wrap brisket in butcher paper to create the juiciest, most tender brisket you’ve ever tasted.
Wrapping brisket in butcher paper is a staple in many BBQ joints, especially in Texas, where the goal isn’t just to cook meat—it’s to create an experience.
This method helps lock in moisture, while still allowing the brisket to breathe and develop that crispy bark everyone craves.
It’s the perfect blend of science and art, and I’m here to walk you through how to master it.
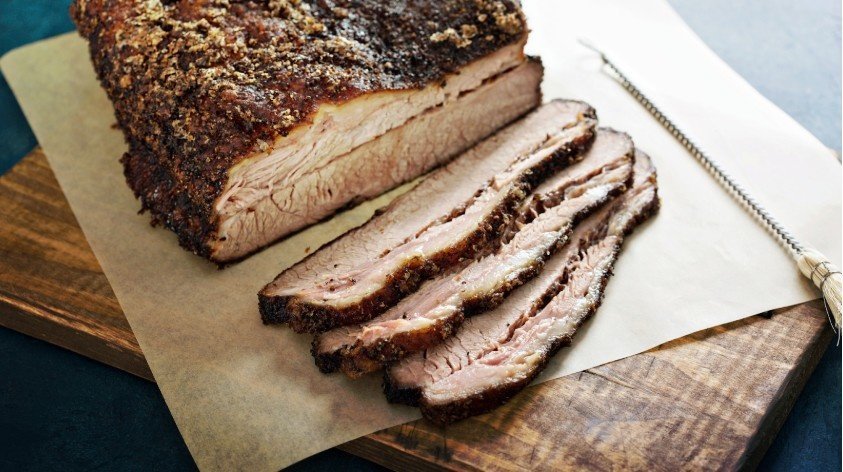
Why Wrap Brisket in Butcher Paper?
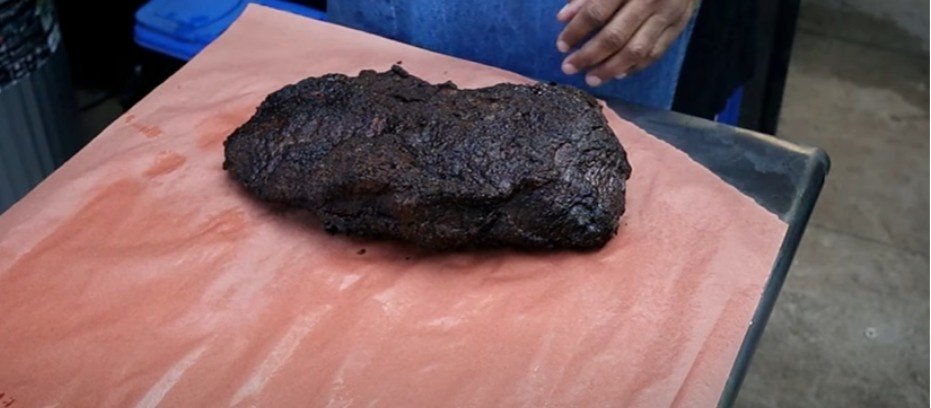
Image source- The Dawgfatha’s BBQ
Before we get into the how-to, let’s talk about the why. Wrapping brisket in butcher paper does a few things that make a world of difference in the final product.
First off, butcher paper, unlike aluminum foil, allows the brisket to breathe. This lets the bark—yes, that deliciously crispy exterior—stay intact and not turn soggy.
The paper also traps moisture, keeping the brisket tender and juicy, without losing that coveted smoky flavor.
It’s a great compromise between the moisture-retaining properties of foil and the crispy bark you’re looking for when smoking meat.
This technique allows the meat to cook in its own juices, while still maintaining its character, instead of becoming a soggy mess wrapped up tight in foil.
How to Wrap Brisket in Butcher Paper: A Step-by-Step Guide
Alright, let’s get to the good stuff—wrapping the brisket! It’s not complicated, but there are a few tricks to make sure you get it just right.
1. Prepare the Butcher Paper
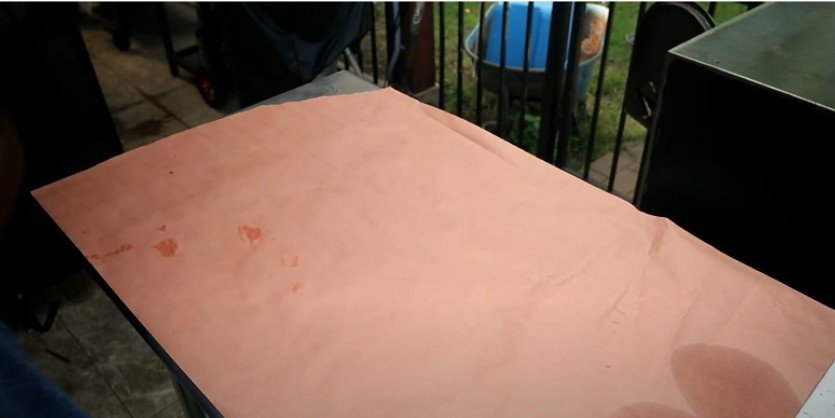
Image source- The Dawgfatha’s BBQ
Start by cutting two large pieces of butcher paper. You want them long enough to wrap the brisket completely, typically about four times the length of your brisket.
Overlap the two pieces by about 2 inches lengthwise. Some BBQ experts spritz the paper with a little water or cooking oil to make it more pliable, preventing it from sticking to the brisket and making it easier to work with.
2. Place and Spritz the Brisket (Optional)
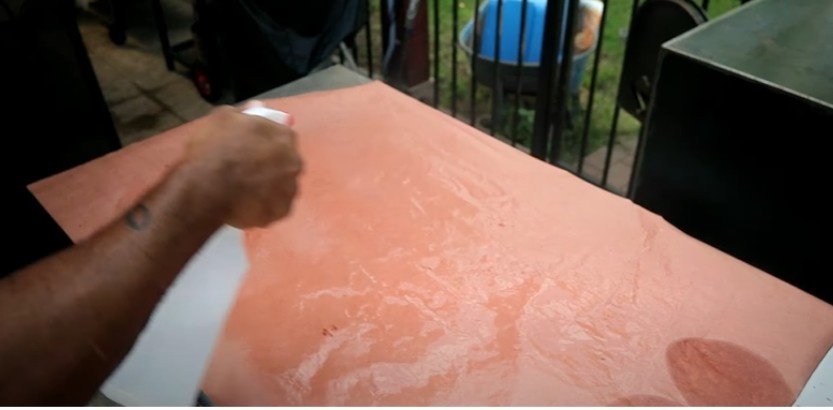
Image source- The Dawgfatha’s BBQ
Place the brisket on one end of the butcher paper, leaving enough space so you can easily wrap it up. If you like, you can spritz the brisket with a little water or apple cider vinegar.
This is optional, but it can add some extra moisture, making sure the brisket stays juicy throughout the cooking process.
3. Wrap It Up: Fold, Tuck, and Roll
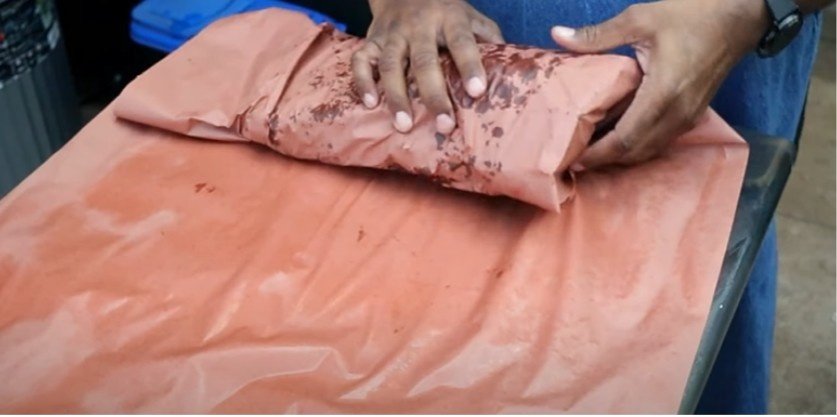
Image source- The Dawgfatha’s BBQ
Now comes the fun part: wrapping. Fold one side of the butcher paper up and over the brisket, tucking it tightly underneath.
This creates a nice seal. Then, fold in the sides, like you’re wrapping a gift. Make sure to overlap the paper, keeping everything snug.
Roll the brisket tightly, pulling the paper tight as you go. The tighter you roll, the better the seal—and that’s what will help lock in all the juicy goodness.
Finally, tuck in the loose ends of the paper underneath the brisket. This helps to ensure that no part of the brisket is exposed to direct heat, which can dry it out.
4. Secure the Wrap and Finish
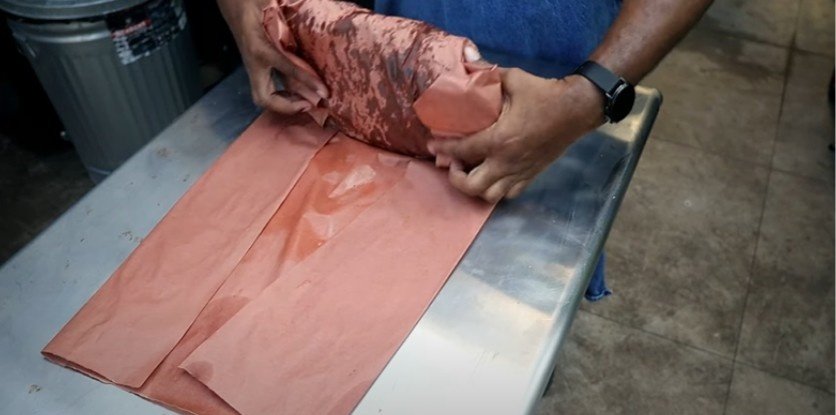
Image source- The Dawgfatha’s BBQ
Once you’ve rolled the brisket a couple of times, give it one last pull to tighten everything up.
You want the butcher paper to be snug around the brisket, but not so tight that you risk squeezing out the juices.
When you’re done, make sure the seam of the butcher paper is on the bottom. This prevents it from unraveling while it’s in the smoker.
Plus, you get a nice presentation when it’s time to serve.
5. Cook Until Perfect
Place the wrapped brisket back in the smoker, seam side down. Continue cooking it until it reaches an internal temperature of around 195-205°F (90-96°C).
This is the sweet spot where the brisket becomes perfectly tender and juicy.
Use a meat thermometer to track the temperature, and make sure you check it through the paper—don’t unwrap it early!
6. Let It Rest
Once your brisket is done cooking, it’s time to let it rest. This is one of the most important steps in the process.
Keep the brisket wrapped in the butcher paper and let it rest for at least 30 minutes. I’d even recommend resting it for 2-4 hours if you’ve got the time.
This allows the juices to redistribute through the meat, ensuring a more tender, flavorful bite.
Butcher Paper vs. Foil: What’s the Difference?
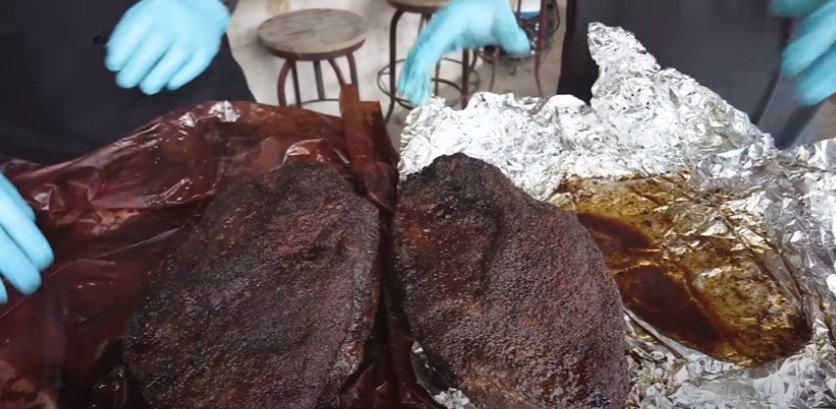
Image source- Meat Church BBQ
When it comes to wrapping brisket, there’s a debate: butcher paper or foil? Both have their merits, but they’re not exactly interchangeable.
Butcher Paper: As I mentioned, butcher paper allows the meat to breathe, which keeps the bark intact and crispy.
It also retains moisture without creating too much of a steam effect. This is perfect if you’re after a well-balanced, flavorful bark with tender meat.
Foil (The Texas Crutch): Aluminum foil is great for speeding up the cooking process. It traps all the moisture inside, creating a tender, juicy brisket, but at the cost of the bark.
It’s softer, and some BBQ purists argue that it doesn’t give you that satisfying crunch on the outside.
Ultimately, it’s up to you! If you’re all about the bark, go with butcher paper. If you need to speed up the cook or want the juiciest result, foil might be the way to go.
FAQ: Common Questions About Wrapping Brisket in Butcher Paper
1. What’s the best time to wrap brisket in butcher paper?
You’ll want to wrap your brisket when the internal temperature hits about 160-170°F (71-77°C). At this point, the brisket has developed a good bark, and wrapping helps push it through the stall, speeding up the cooking process without losing any of that smoky flavor.
2. Can I use parchment paper instead of butcher paper?
No, parchment paper isn’t ideal for this. Parchment paper is coated and doesn’t allow the brisket to breathe in the same way butcher paper does. Stick with food-grade butcher paper for the best results.
3. Do I need to double-wrap the brisket?
For larger briskets or if you’re cooking for a long time, yes—double wrapping can be a good idea. It adds an extra layer of protection, keeping the brisket moist while still letting it breathe. You can also use two layers for added security if you’re concerned about the paper tearing.
4. How long should I rest the brisket after cooking?
You should let your brisket rest for at least 30 minutes, but if you can wait, resting for 2-4 hours is even better. This helps the juices redistribute throughout the meat, making it even more tender and flavorful.
The Final Bite: Don’t Rush the Resting
Now that you know how to wrap brisket in butcher paper, it’s time to embrace the art of patience. Let your brisket rest, let it relax, and prepare for the magic of tender, smoky perfection.
A few hours of waiting might seem like a lifetime, but trust me—the end result is so worth it.
And here’s a little insider tip from me: If you’ve wrapped it up tight and the bark is perfect, don’t rush through the slicing process either.
A slow, steady hand is key to getting those perfect, juicy slices. And just like that, you’ve got yourself a brisket that’s as flavorful as it is tender. Enjoy!