I remember the first time I tried bleach tie-dye. I was bored, rummaging through my closet, and stumbled across an old black T-shirt I’d almost forgotten about. I thought, What if I could transform this?
A quick search, a dash of excitement, and suddenly, I was standing in my kitchen, gloves on, ready to make a mess.
The result?
A fresh, unique T-shirt that looked like a work of art—thanks to bleach. Now, every time I wear it, people ask, “Where did you get that?”
And I get to say, “I made it!”
If you’re looking to shake things up with your clothing, learning how to tie-dye with bleach is the way to go.
Whether you’re revamping an old shirt or experimenting with bold patterns, bleach tie-dye (also known as reverse tie-dye) offers endless creative possibilities.
And the best part?
You don’t need fancy supplies or a lot of time to create something amazing. Ready to make your own custom designs? Let’s get started!
What Exactly is Bleach Tie-Dye?
You might be familiar with traditional tie-dye, where you use colorful dyes to create funky, swirled patterns.
But bleach tie-dye flips the script. Instead of adding color, you’re stripping it away, leaving behind a bold contrast that can completely transform your garments.
It’s a fantastic technique to create eye-catching designs, particularly on dark-colored fabrics.
The bleach removes some of the existing color, and depending on how much bleach you apply, you can achieve various shades of lightness.
What Do You Need to Get Started?
Before diving into the bleach tie-dye process, let’s gather the essentials. You’ll need:
- Dark-colored fabric: Go for 100% cotton or cotton blends for the best results.
- Household liquid bleach: Make sure to use regular bleach; avoid color-safe or scented versions.
- Water: For mixing your bleach solution.
- Rubber gloves: Bleach can be harsh on skin, so protect yourself.
- Spray bottle or squeeze bottle: You’ll need this to apply the bleach evenly.
- Plastic bucket or dishpans: If you prefer to submerge your fabric.
- Hydrogen peroxide (3%): To neutralize the bleach after you’ve finished.
- Old clothes: Because this is a messy job!
- Plastic tablecloth or old towels: Protect your workspace.
- Safety goggles and face mask (optional): For extra protection.
How to Tie Dye with Bleach
Step 1: Set Up Your Workspace
Start by choosing a well-ventilated area. Bleach fumes can be intense, so I recommend working outdoors or in a room with open windows and a fan. Lay down a plastic tablecloth or old towels to catch any bleach spills, and don’t forget to wear old clothes you don’t mind ruining.
Step 2: Pre-Wash Your Garment
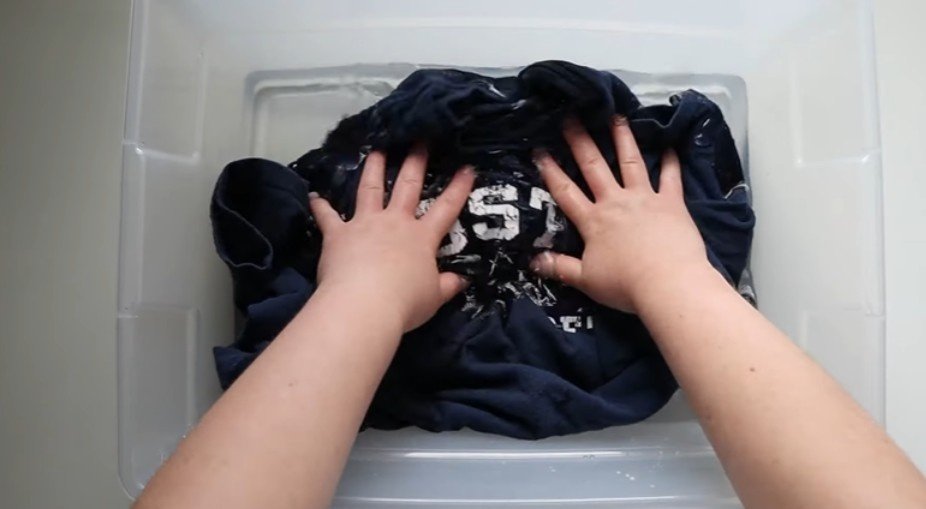
Image source- AB Crafty
Before you get to the fun part, wash and dry your fabric to remove any dirt, oils, or finishes that might interfere with the bleach’s effect. Make sure the fabric is dry before you start.
Step 3: Create Your Design
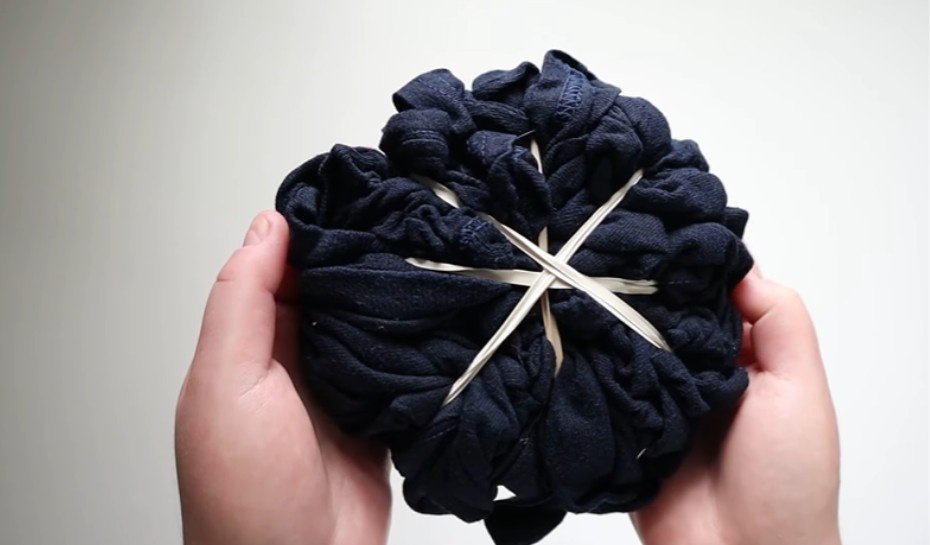
Image source- AB Crafty
Tie-dye is all about getting creative with shapes and patterns. Twist, fold, or scrunch your fabric to create your design. Popular options include a spiral, crumple, or bullseye pattern. Once you’ve got your fabric shaped the way you want, secure it tightly with rubber bands or string.
Step 4: Prepare the Bleach Solution
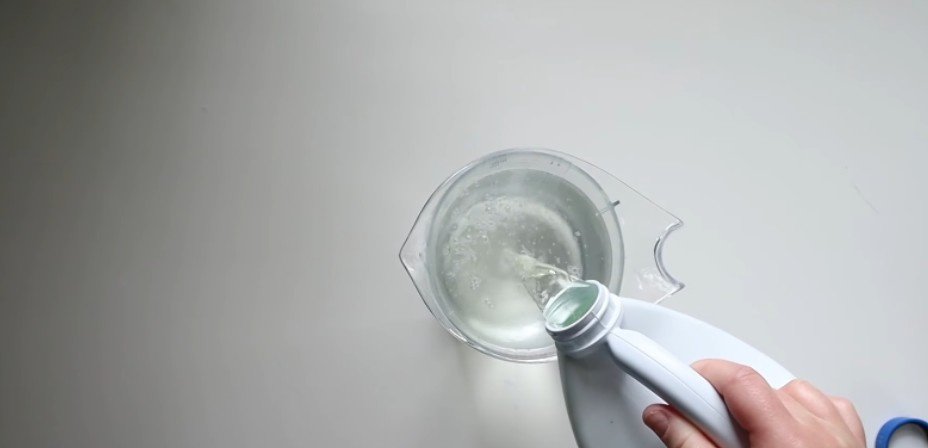
Image source- AB Crafty
Mix one part bleach with one part water in a spray bottle or squeeze bottle. If you want a more subtle effect, try using a mixture of 1 part bleach to 3 parts water. Don’t use straight bleach, as it can be too harsh on the fabric and lead to damage.
Step 5: Apply the Bleach
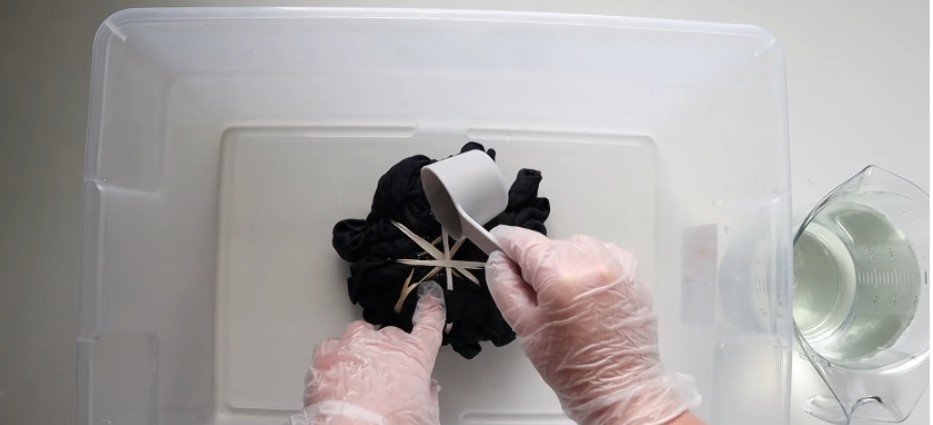
Image source- AB Crafty
Now comes the fun part! Spray or pour the bleach solution onto the exposed parts of your tied fabric. Be mindful of how much bleach you apply. A little goes a long way, and you can always add more later if needed. Make sure to evenly cover the fabric but avoid oversaturating, especially on lighter cotton, which can weaken and tear.
Step 6: Watch the Magic Happen

Image source- AB Crafty
This is where it gets exciting. As the bleach interacts with the fabric, you’ll start to see the color fade away. Depending on the fabric and the bleach concentration, this could take anywhere from 5 to 20 minutes. Keep an eye on your creation, and once you’ve reached your desired effect, it’s time to stop.
Step 7: Rinse and Neutralize
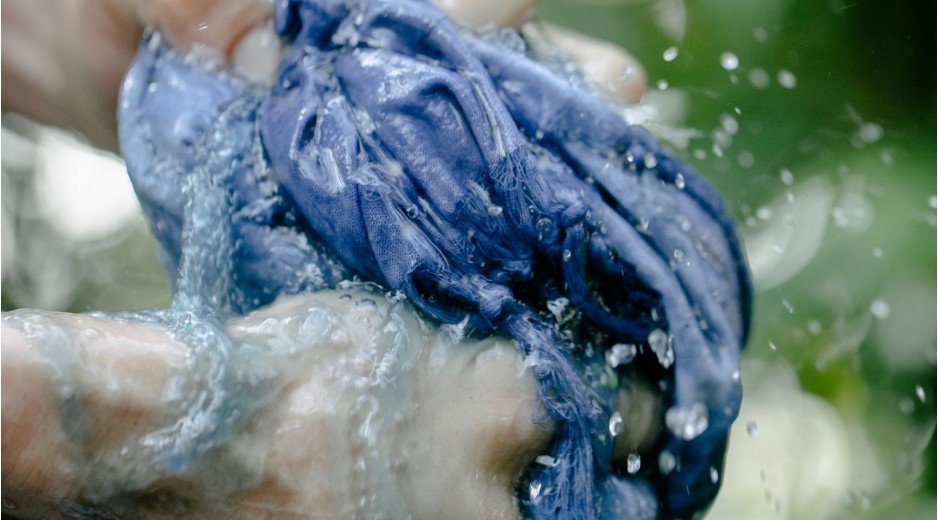
Once the bleaching process is complete, remove the rubber bands and rinse the fabric under cold running water. This stops the bleaching action. Now, to make sure the bleach doesn’t continue working and weaken the fabric, soak the garment in a neutralizing solution made from 1 part hydrogen peroxide and 10 parts water. Let it soak for at least 15 minutes.
Step 8: Wash and Dry
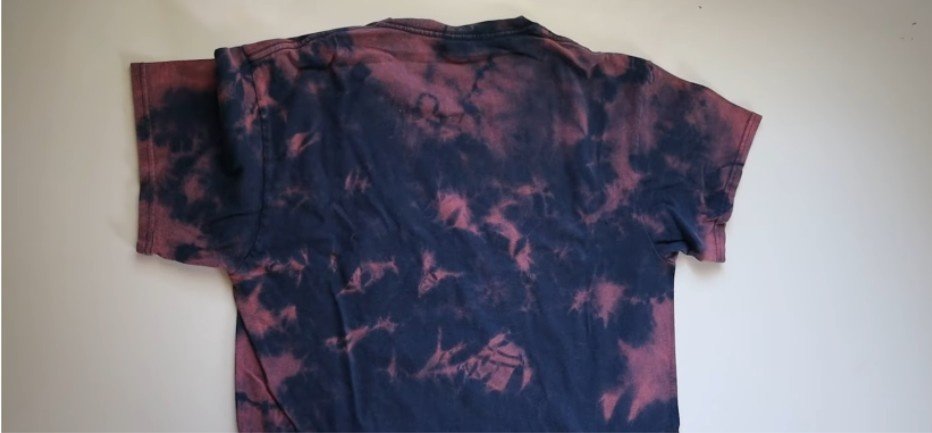
Image source- AB Crafty
After soaking, rinse the fabric again and throw it in the wash with cold or warm water and a small amount of detergent. Once it’s washed, dry it as usual—air drying is often the safest bet for delicate fabrics.
FAQ: Bleach Tie-Dye Questions Answered
1. Can I use bleach on any fabric?
While bleach tie-dye works best on cotton or cotton blends, it’s not suitable for synthetic fabrics like polyester. These materials don’t react well to bleach and can be damaged. Stick with natural fibers for the best results.
2. How do I know when to stop bleaching?
The timing depends on the fabric and how light you want it. Start checking after 5 minutes and watch the color fade. Once it looks good, rinse it right away to stop the bleaching process. Over-bleaching can damage the fabric, so less is more!
3. Can I over-dye my bleach tie-dye for a multi-toned effect?
Absolutely! Over-dyeing your bleach tie-dye with different colors can give you a totally unique look. It’s a great way to add depth and complexity to your design. Just make sure to rinse thoroughly after each stage to avoid muddying the colors.
Time to Show Off Your New Creation!
Bleach tie-dye is not just a fun craft—it’s a way to breathe new life into old clothes and make them your own.
With just a few materials and a little creativity, you can turn any dark T-shirt into a one-of-a-kind fashion statement.
And trust me, once you’ve mastered the technique, you’ll want to bleach everything in your closet.
Pro Tip: Experiment with different concentrations of bleach, different fabrics, and varying application methods to find your signature style. The possibilities are endless!
So, grab your old clothes, break out the bleach, and get ready to create something fresh. After all, life’s too short to wear boring clothes, right?
Happy crafting!